In order to create a web service from an existing project, I have chosen to work with Apache CXF framework, which allows to generate buttom-up WS but also contract first WS. In my case, I have already my developed code, and should create the WS based on that code.
About Apache CXF:
- CXF supports several standards including SOAP, the WSI Basic Profile, WSDL, WS-Addressing, WS-Policy, WS-ReliableMessaging, WS-Security, WS-SecurityPolicy, and WS-SecureConversation.
- Apache CXF offers both contract-last (bottom-up) and Contract-first (starting with the WSDL) approaches.
- Apache CXF implements JAX-WS and JAX-RS.
Environment installation in Eclipse:
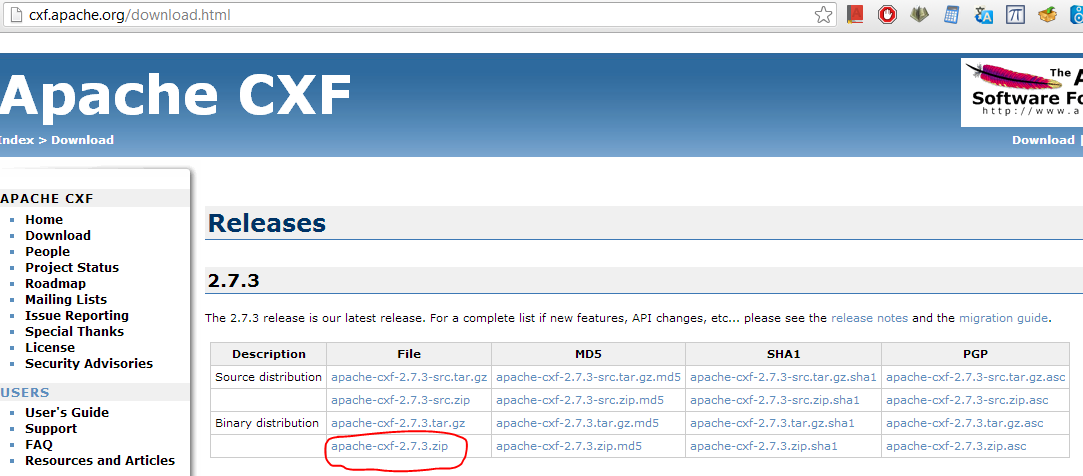
- Download Apache CXF binary distribution 2.7.3 version:
- Tomcat 7: download Apache Tomcat Server 7.0.3


- Setup of Apache CXF preferences
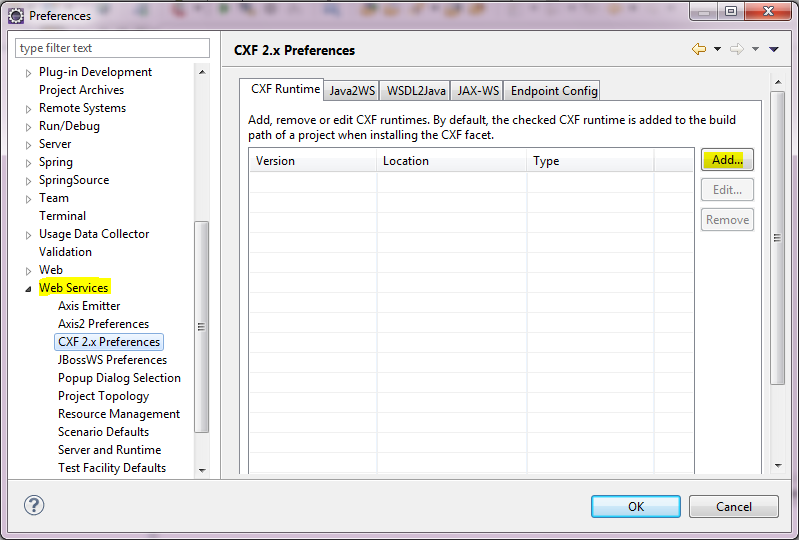
We should give here the path to our downloaded framework.


We should at the end configure Apache server to use CXF runtime, otherwhise it use by default axis2.

- Setup the Web Service preferences

Project Creation:
Once the environement is well configured, we advance toward the creation of our project.
First let's create a Dynamic Web Project:

We want to work with Spring, so we need to add the Spring capacity and this can be done directly using the Spring IDE plugin :

To import the existing project, create a new package then import "File System"

We are using the approache Button-Up, so we are creating the Web Service from the Java Code. To do that, we should as explained in the apache cxf tutorial begin with:
- Create a Service Endpoint Interface SEI that describes the service we would like to expose
- Add the required annotation to the code
- Generate the WSDL contract for the service
- Publish the service
Create the Service Endpoint Interface
WebMethod, WebParam, WebResult, WebService are Jax-WS annotations available in the package javax.jwsin the J2EE Plateform. Only the WebService annotation is required, the others allows a clear generation of the WSDL.
We don't need to use the DispatcherServlet from Spring as CXF comes with its own servlet org.apache.cxf.transport.servlet.CXFServlet
In order to configure the WebService, we need to create the web.xml and the Spring configuration file ApplicationContext.xml where we will declare our endpoint.
In the ApplicationContext file we should add some line in the bean declaration, otherwhise we will have this message " jaxws:endpoint not bound" in the Applicationcontext.xml file.
< beans xmlns="http://www.springframework.org/schema/beans"
xmlns:xsi="http://www.w3.org/2001/XMLSchema-instance"
xmlns:jaxws="http://cxf.apache.org/jaxws"
xsi:schemaLocation="http://www.springframework.org/schema/beans http://www.springframework.org/schema/beans/spring-beans.xsd
http://cxf.apache.org/core http://cxf.apache.org/schemas/core.xsd
http://cxf.apache.org/jaxws http://cxf.apache.org/schemas/jaxws.xsd" >
< !-- The service bean -- >
< bean id="coutVoitureServiceImpl" class="coutVoiture.CoutVoitureServiceImpl" />
< !-- Service Endpoint Defenition -- >
< jaxws:endpoint id="coutVoiture"
implementorClass="coutVoiture.CoutVoitureServiceImpl"
implementor="#coutVoitureServiceImpl"
address="http://localhost:8080/coutVoiture" />
Create the Botton-Up Web Service:


You should then follow the different steps where the implementation class should be given and you can configure other generation parameters.
As We can see in the next figure, different files have been added. The beans.xml, web.xml and the wsdl file. The Apache CXF library was also set and the Apache server was started while creating the WS.

We should then delete the beans.xml, because we have just created the ApplicationContext file. But be sure that we modify this in the web.xml. As CXF comes with its own servlet org.apache.cxf.transport.servlet.CXFServlet, we don't need to declare the DispatcherServlet of Spring. The web.xml look like that:

Once the service is publish in your Apache Server, you can see the exposed services using this URL:
- http://localhost:8080/YourProjectName/services/ : in our case it's http://localhost:8080/G-Project/services/
- http://localhost:8080/G-Project/services/sYourServiceName?wsdl : to access to your WSDL.
Using SoapUI software, you can create a new project by fiving this WSDL adress and test your service.


This comment has been removed by a blog administrator.
ReplyDelete